

Email Templates pre-populate the content of an email, saving you and your team from repeatedly typing out the same emails to your clients.
Creating an Email Template
- Click Admin.
- Click the View button on the Email panel. This will take you to the Email Template page.
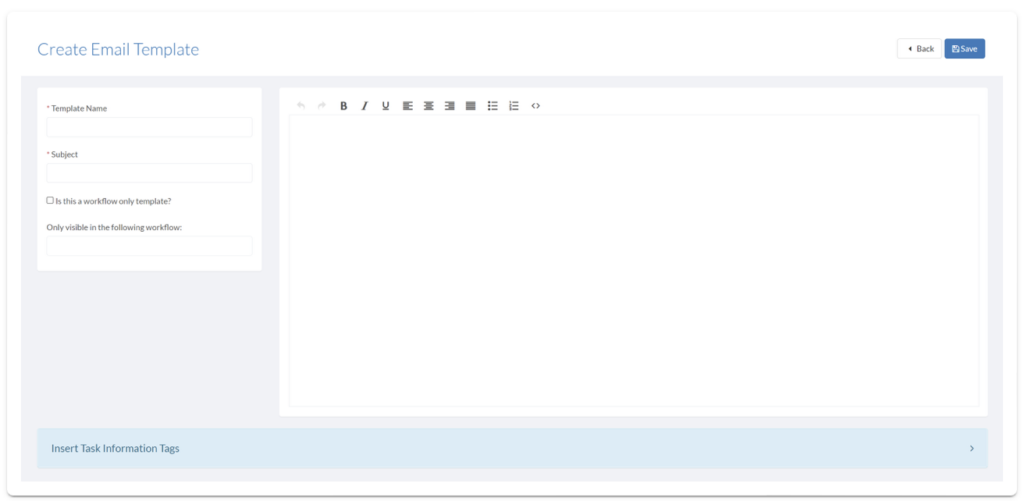
- Click Create Template.
- Add a Template Name and a Subject.
- If the Email Template should only be able to send from a workflow, check the Is this a workflow only Template? checkbox and select a Workflow.
- Add a Template Name and a Subject.
- Add the text you want to appear on the email in the blank box.
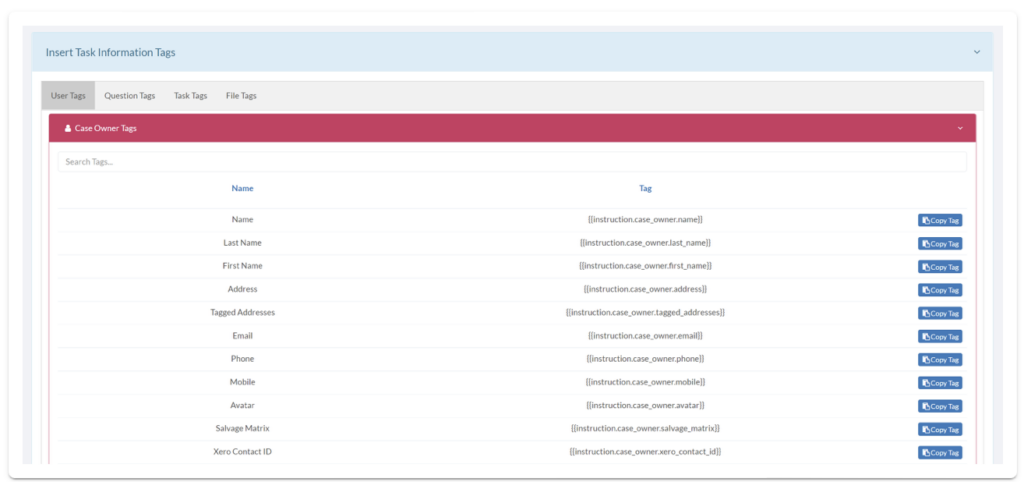
- Click Insert Task Information Tag to open lists of User, Question, Task, and File Tags to copy and paste into your email template.
- Click Save.
Note:
Tags are used to generate and display information from the Task, allowing each email to be customisable to the recipient/subject.
Example Email Template
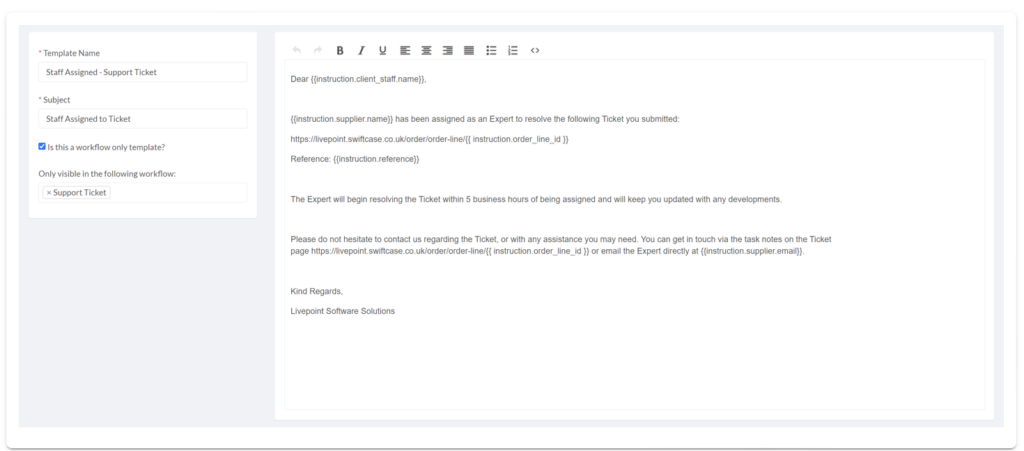
- Address the Client Staff
- Tell them the Expert that has been assigned to solve their ticket
- Give them the URL of the ticket
- Give them the Ticket Reference Number
- Give them the Expert's Email